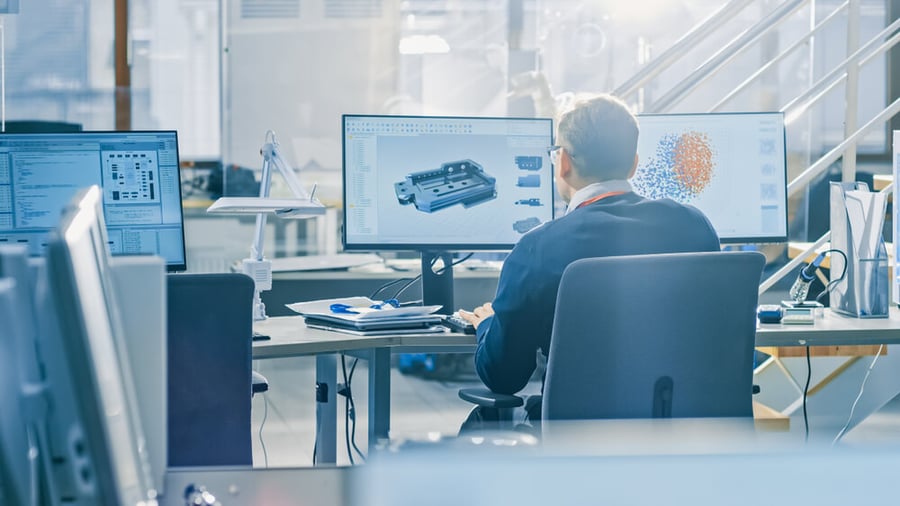
Ever wanted to know what goes into the Design for Manufacturability (DFM) process?
Even if it hasn’t been the most burning question on your mind, as an engineer or procurement manager, understanding how it works can be incredibly helpful.
We’ve found that there are plenty of misconceptions about the process, and we’ve given feedback on thousands of designs, so we drew on our past experiences to provide you some guidance on how the process works for us (and how we believe it should work anywhere).

Avoid frequent design mistakes in our free guide.
Step 1: Gather Information
The very first step in any DFM process is to gather all necessary information from the customer that is pertinent to the order. This includes:
- The design
- Material selection
- Requirements for turnaround times
- Volume of parts needed (both in Prototype and Production situations)
The earlier you can involve your manufacturing partner in the design process, the better off you’ll be!
Step 2a: Can the Part be Made?
The first question that we address during the DFM process is the question of if the requested part can even be made. Our engineers will review the drawing and take a look at how the part is designed and inspect the required tolerances put forth in the design file.
Surprisingly often, we receive orders for parts that simply cannot be made according to the specifications outlined in the design. There are quite a few reasons why this happens, some of which include:
- Material tolerances for gaskets: Often we will see a specified tolerance that is not possible at all for a selected material, regardless of the method of production.
- Drawing issues for machined parts: There may be issues with stated tolerances for machined parts that are not achievable, or issues with selected reference points for measurements within the drawing.
- CAD issues: Sometimes CAD drawings will have radii or settings that are globally applied across a part, even in places where it makes the part impossible, or very difficult, to manufacture.
- Modeling issues: Another issue that comes up are organic shapes or artifacts that happen as a result of how the CAD software generates and applies design features to a part in the CAD modeling process. It is usually required that an engineer manually go back through and fix these artifacts during the design process, but they are occasionally missed or overlooked.
So the first step of every DFM starts with: “Is it possible?”
Our engineers will review the design and provide any feedback to you that would essentially make your design impossible to manufacture, so you can review and update the design. (Sometimes our engineers even get involved with facilitating a redesign, when needed.)
Step 2b: How Complex is the Part to Make?
Once we’ve passed the point of “is this possible?” it is time to consider: “Is this feasible?”
Usually at the same time that we are reviewing the part to ensure that it is possible to make, we will also look for potential changes that can make the part less complex to manufacture. This will help bring down your total costs and lead times.
We often receive drawings for parts that have specifications that would require incredibly lengthy or expensive methods for production. In most cases, these designs can be changed without sacrificing the quality or ability of the part to meet its functional requirements.
In this phase, we look for opportunities to make your part more efficient to produce, and work directly with the engineers who designed it to understand what design factors have some wiggle room. This back and forth between our engineering team and yours will result in a part that is produced using the most efficient methods, can provide you the best lead times, and still meet your quality requirements.

Read Now: Guidance from start to finish on your custom gasket production.
Step 3: How Will the Part be Manufactured?
Once both teams are happy with the design and requirements, we next step into defining how we will manufacture the part. This is where the process starts to look different depending upon what kind of part you are looking to build.
Two Dimensional Gaskets
For two dimensional gaskets, we’ll likely be choosing which method to use for manufacturing between die cutting, CNC or digital cutting, waterjet cutting, and potentially form-in-place (FIP) gasket dispensing. The factors that weigh heavily into this decision include both design considerations and production considerations.
Design considerations:
- Size and shape of the gasket
- Selected gasket material
- Thickness of material and thickness of walls in the design
- Requested tolerances
Production considerations:
- Volume of parts required
- Requested lead time
- Cost considerations
- Ease of assembly
Each method for gasket production provides different pros and cons. Our job is to find you the best fit that meets your design requirements while minimizing both lead time and cost.
It might sound simple on the surface, but it is actually a pretty complex process because so many factors are involved and can easily affect each other. There are also plenty of creative ways to make the best use of each type of process. If you’re looking to learn more, we’d suggest reading through each of our articles about the individual manufacturing processes themselves:
- Is Die Cutting the Right Fit for Your Custom Gasket?
- Is CNC or Digital Cutting the Right Fit for Your Custom Gasket?
- Is Waterjet Cutting the Right Fit for Your Custom Gasket?
- Everything You Ever Wanted to Know about Form in Place Gaskets (and Probably More)
Three Dimensional Gaskets
For three dimensional gaskets you may still be considering form-in-place gaskets, as they somewhat straddle the line between two dimensional and three dimensional, but most likely you are looking at molded rubber parts.
For molded rubber parts, the DFM process will help determine if injection molding or compression molding is the right fit for your needs, weighing in lead times, costs and part volumes.
Machined Parts
If you are looking for a machined part, this phase is all about which machines and tools we will be using to build it.
Is it best fit for our horizontal, vertical or 5-axis milling machine? This determination is based upon the size and shape of your design, and how many faces of the part have machined features requiring a dedicated perpendicular tool orientation.
What kind of tooling is required? Based on the dimensions of different features in your design, we’ll need different size and shape tools to create it.
What is the required cycle time? Certain features of machined part designs will require them to run through multiple cycles within the milling machines. Understanding how many cycles, and how long the cycles will need to be is imperative in driving lead time and cost.
At the end of this phase, we’ll have a detailed breakdown of each step that needs to happen from start to finish in order to complete your machined part.

Visit our Glossary for more definitions of key manufacturing terms.
Step 4: It’s Time to Break Down the Details
All of these steps ultimately lead to what you’ve been waiting for, the final quote for your project!
Now that we’ve broken down the “how,” we can give you all the details about how long it will take and how much it will cost to complete.
The Bottom Line
A good DFM process will help refine your design to ensure that it meets your functional needs, but also keeps your long term costs and lead times down as much as possible.
